By Jose Axel
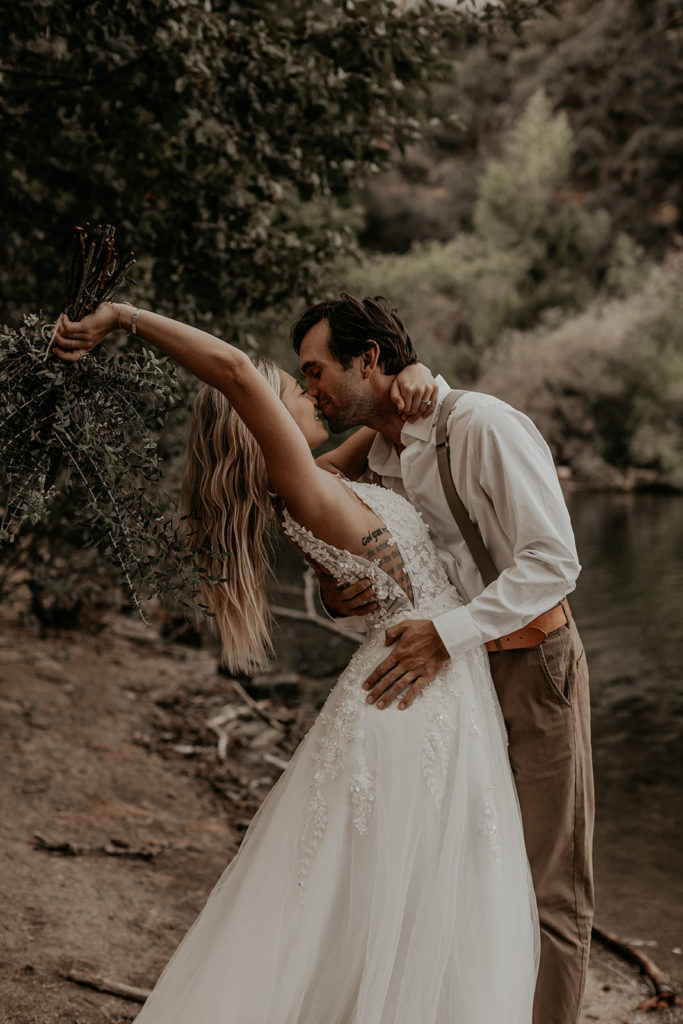
Last Updated Jul 30, 2023Light capture is the essence of photography. Many things contribute to a photo's aesthetic quality, but the difference between good and great lies in the photographer's mastery of light and how to best utilize it in the shot. The lighting at your wedding won't be perfect throughout the day, but there are choices you can make to improve the photos you take. My experience as a California elopement photographer has given me the chance to photograph many lovely couples in a variety of settings, and I'd like to use this opportunity to offer five best pieces of advice for making the most of your wedding photos. Sometimes they also opt elopement photography packages, which include everything.
Even though I always have supplemental lighting on hand (flashes, strobes, etc.) for particularly dim getting ready areas, beginning the day in a room that is filled with natural light and is particularly photogenic can yield strikingly better photographs. When advising couples on where to get ready, I always recommend white walls and ceilings and plenty of natural light from large windows. Although brightly colored or wooden walls can be aesthetically pleasing, they often result in unflattering color casts when they reflect on the skin of the subjects in the frame. Conversely, a room with white walls and ceilings allows light to bounce around, producing flattering, natural light for photographs that do not alter the subject's skin tone. I can also easily bounce flash if I need to supplement the natural light. Having large windows lets me be as unobtrusive as possible, which is important to me because I prefer to photograph candid moments without drawing undue attention to myself.
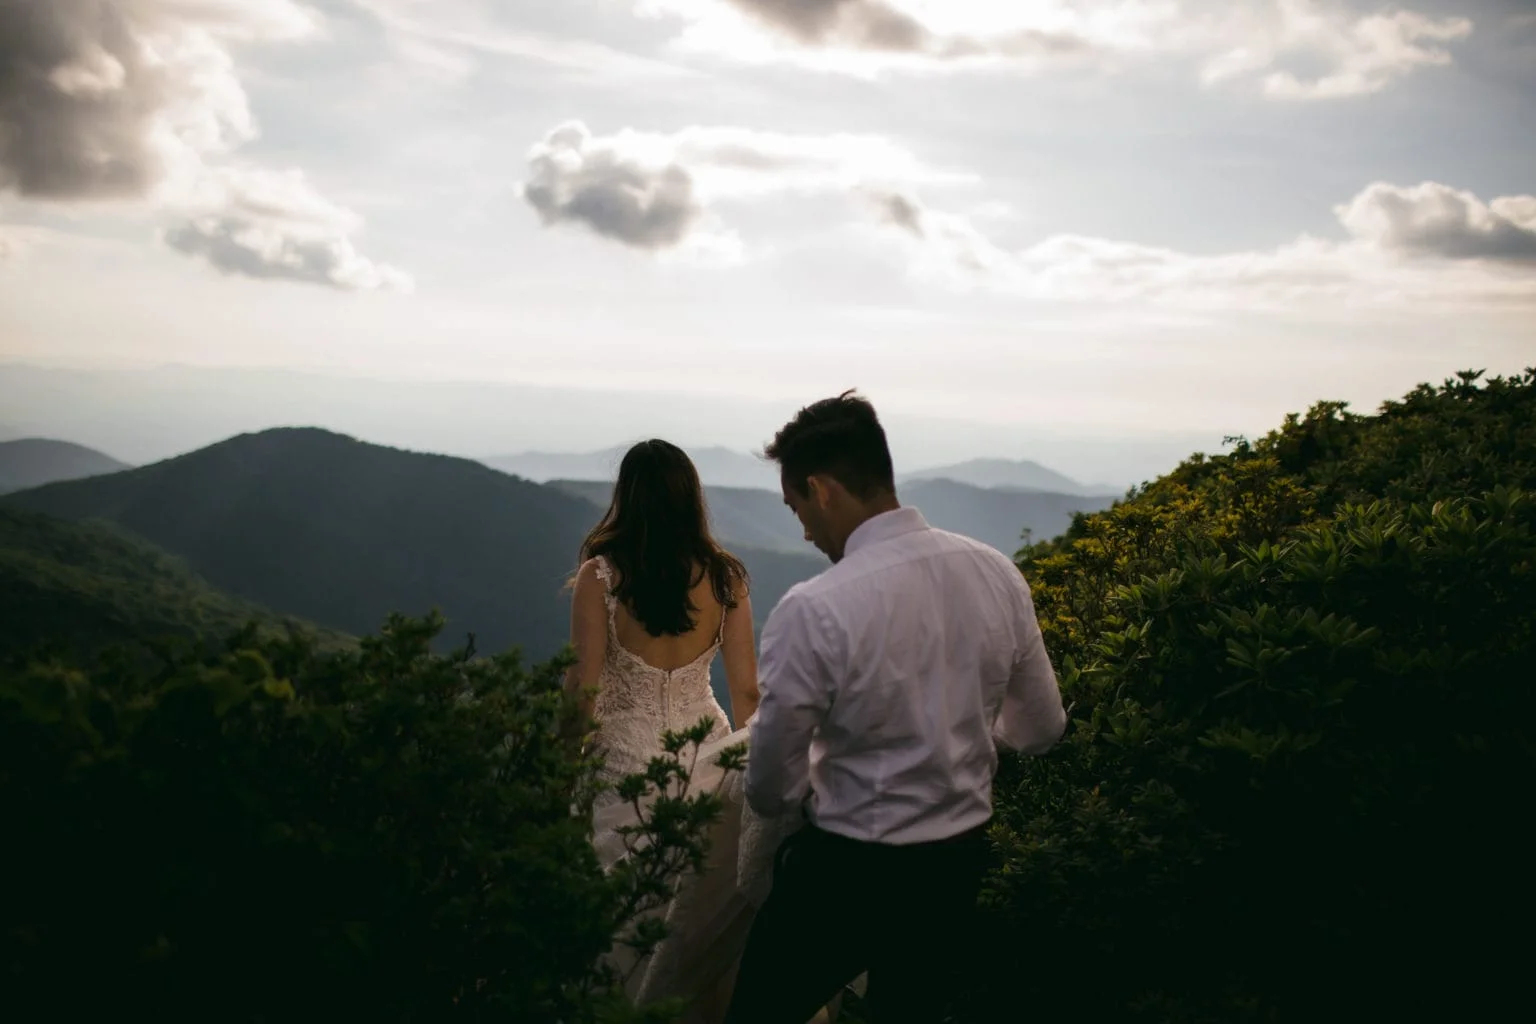
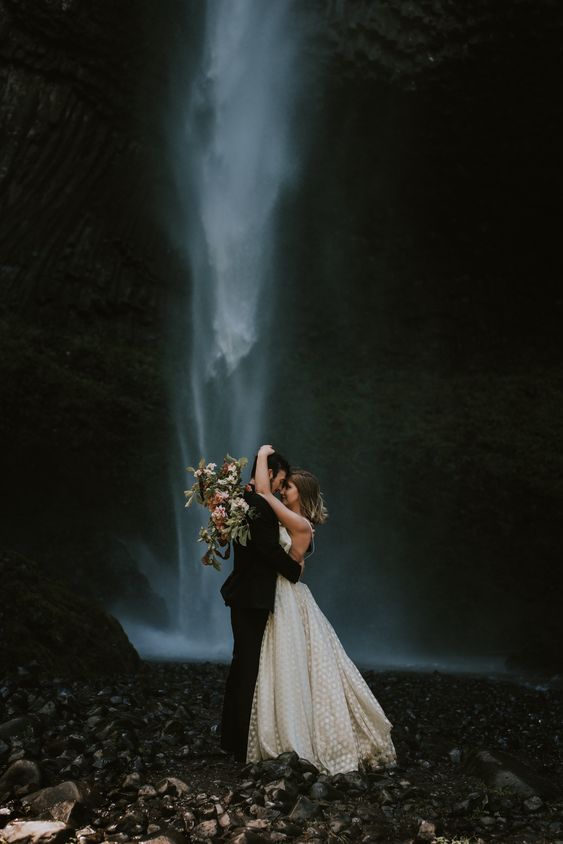
At sunrise and sunset, the sun is at its most directional (closest to the horizon), and its light is at its softest, making these times ideal for working in an open or outdoor space. During the last hour of daylight before sunset, known as the "Golden Hour," the sun casts a warm, ethereal glow. During the blue hour, which occurs an hour after sunset, the sky is bathed in a very gentle blue light. In order to have as much of the ceremony take place after lunchtime as possible, I usually start planning an elopement schedule at sunset and work backwards.
If you need to shoot inside or in a heavily shaded area (like a forest), you may want to start earlier in the day.
When intense colors reflect off of an object and onto its subject, the result is a skin tone that looks unnatural. If the subject is next to a bright orange wall, for instance, the wall's color will reflect off of it and onto the subject, giving them a tan. Even if you're standing on grass, the same thing will occur. Reflected green creates an unpleasant yellow/green hue on the subject, which can be difficult to edit out.
Think about the background settings as well. If you need to choose between a grassy area and a cement surface to say your "I do's," go with the former. You won't have to worry about unsightly color casts, and sometimes a nearby gray or white surface can even act as a diffuser to cast lovely, flattering light on you.
Be the first to post comment!